Garlic Butter Chicken Thighs with Lemon
↓ Jump to Recipe
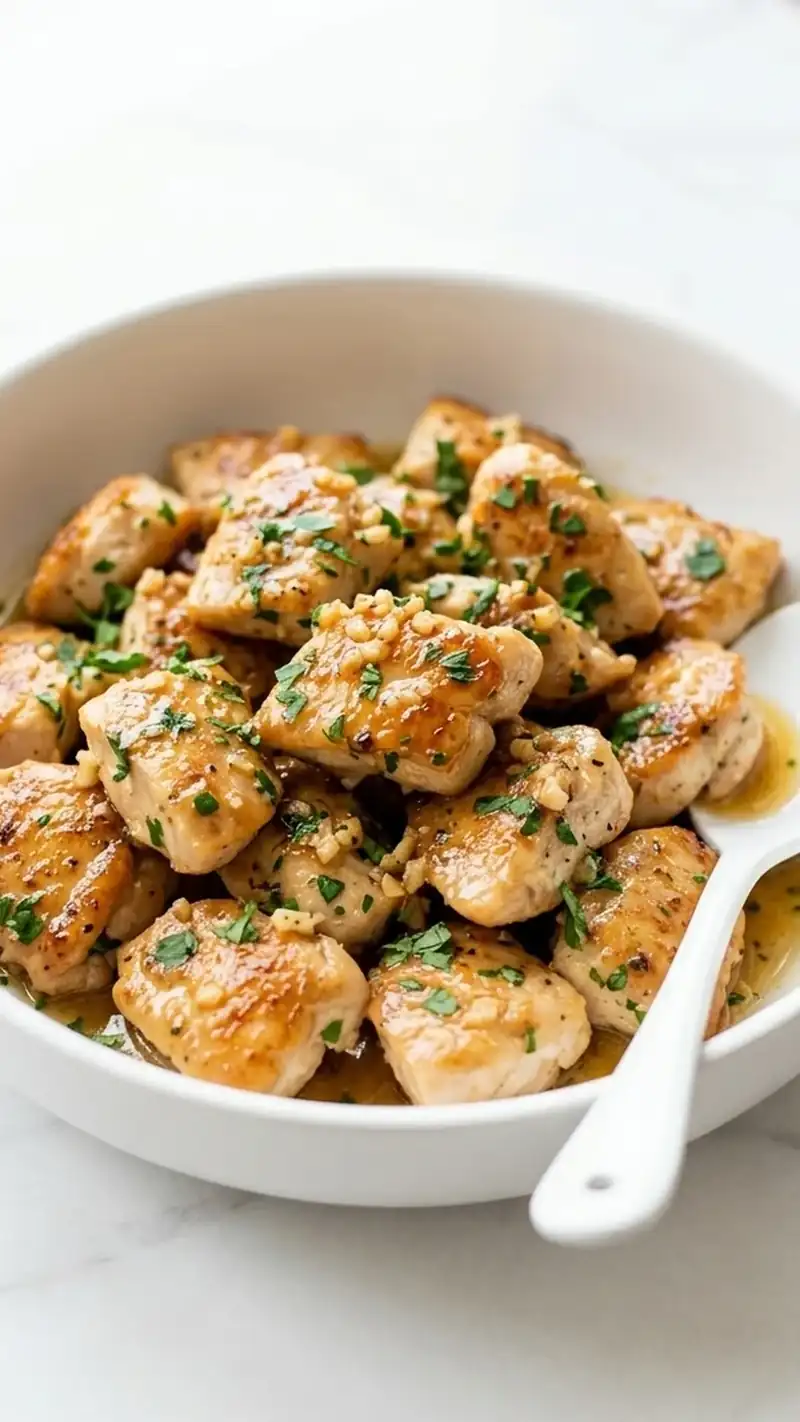
Bone-in chicken thighs started skin-down in a cold cast iron pan, then finished in a garlic, butter and lemon sauce. On the table in about 35 minutes.
Chicken thighs with crisp skin and a garlic butter sauce sound like two recipes fighting each other, and in most kitchens they are: the sauce softens the skin within a minute of hitting the plate. The fix is a matter of order. The thighs go into a cold cast iron pan skin-down, the fat renders out slowly over twelve minutes, and the garlic only joins once the searing is over and the heat has dropped. Lemon, stock and cold butter are then built into the fond left behind, and the chicken returns to the pan skin-up so the sauce never touches the crust. It takes one pan, about thirty-five minutes, and feeds four.
| Prep Time | 10 | Cook Time | 25 |
| Servings | 4 | Calories | 480 kcal |
Ingredients
- 8 bone-in, skin-on chicken thighs (about 1.2 kg / 2 lb 10 oz)
- 1.5 teaspoons fine sea salt
- 1 teaspoon freshly ground black pepper
- 1 teaspoon sweet paprika
- 60 g (4 tablespoons) unsalted butter, cold and cut into cubes
- 8 garlic cloves, peeled and thinly sliced
- 120 ml (1/2 cup) chicken stock, hot
- 2 tablespoons lemon juice, plus 1 teaspoon finely grated zest (1 unwaxed lemon)
- 1 teaspoon Dijon mustard
- 15 g (a loosely packed 1/2 cup) flat-leaf parsley, roughly chopped
- 2 sprigs fresh thyme (optional)
- 1 pinch dried chilli flakes (optional)
- 1 teaspoon olive oil, only if the thighs look very lean
- Flaky salt, to finish
Buy bone-in thighs with the skin on and look for pieces of roughly equal size, since a 180 g thigh and a 110 g thigh will not be ready at the same moment. The bone is not decoration: it slows the heat reaching the centre, which keeps the meat juicy over the longer, gentler cook that the skin demands.
Use a real lemon rather than bottled juice, because the zest does half the work here and bottled juice has none of it. The butter should go in cold and in cubes at the end; that is what makes the sauce thicken and shine rather than separate into a pool of yellow fat.
Essential Kitchen Tools
| Cast iron pan (26 to 30 cm) | Even, steady heat for the long render; goes straight into the oven |
| Kitchen paper | Drying the skin, which matters more than any other step |
| Tongs | Turning the thighs without tearing the crust |
| Instant-read thermometer | Checking 75 °C at the bone instead of guessing |
| Metal spoon or fat separator | Removing the rendered fat mid-cook |
| Wooden spoon | Scraping the fond loose when the stock goes in |
A heavy stainless steel frying pan substitutes for the cast iron without changing anything. A thin nonstick pan does not, as it neither holds heat nor builds the browned base the sauce is made from.
Why This Recipe Works
Chicken skin is mostly fat and water held in a thin sheet of collagen. To crisp it, both have to leave, and they leave at different speeds. Water goes first, at just above boiling point; the fat needs time at a moderate temperature to melt and run off. Starting in a cold pan gives the fat that time. By the point the pan reaches searing heat, the skin is already thin and dry and browns almost instantly in the fat it produced itself.
Drop the same thigh into a hot pan and the sequence is reversed. The surface proteins set in a few seconds and lock the fat in place, so you get a brown exterior with a soft, greasy layer directly under it. The colour looks right and the texture is wrong, which is the single most common failure in this dish.
Garlic is on the opposite schedule. Its sugars start to scorch at around 160 °C, well below the temperature the skin needs, and scorched garlic is bitter rather than simply dark. By adding it only after the chicken comes out, in butter, over low heat, for under a minute, you get the sweet, mellow version instead.
The sauce then works because of what is left behind. The browned residue on the base of the pan is concentrated chicken flavour, and stock plus lemon juice lift it straight back into the liquid. Dijon is there as an emulsifier more than a flavour: its mustard proteins hold the butter and the stock together so the finished sauce coats the back of a spoon instead of splitting.
Finishing skin-up is the last piece of logic. The meat comes up to temperature in the heat and steam of the sauce while the crust stays above the waterline, dry and intact right up to the plate.
Pro Tips for Better Results
Dry the skin twice. Once when the thighs come out of the packet, and again after the 10 minute salting rest. Each pass removes water that would otherwise have to boil off in the pan.
Do not crowd the pan. Eight thighs rarely fit in one 28 cm pan. Two batches of four produce better skin than one crowded batch, because packed thighs trap steam between them.
Pour the fat off as it collects. A thigh sitting in a centimetre of its own fat is being deep-fried, and deep-fried skin browns before it has finished rendering.
Let the pan tell you when to turn. Properly crisped skin lets go by itself. Sticking means it is not ready.
Slice the garlic, do not crush it. Slices have less surface area and far more margin before they catch.
Keep the finishing butter cold. Cold cubes added off the heat emulsify; warm butter added over a flame separates.
Save the rendered fat. Strained into a jar it keeps for weeks in the fridge, and it roasts potatoes better than oil does.
Nutrition Facts (per serving)
| Calories | Protein | Carbs | Fat | Fiber |
|---|---|---|---|---|
| 480 kcal | 38g | 3g | 35g | 0.4g |
Based on two thighs per person with a quarter of the sauce, and no side dish. The figure assumes the rendered fat is poured away; leaving it in the pan adds roughly 90 kcal a serving. Removing the skin before eating brings the total down to about 330 kcal.
Garlic Butter Chicken Thighs with Lemon
Bone-in chicken thighs started skin-down in a cold cast iron pan, then finished in a garlic, butter and lemon sauce. On the table in about 35 minutes.
Ingredients
Instructions
- Take the thighs out of the fridge 20 minutes before cooking and dry them thoroughly with kitchen paper, skin side especially. Any water on the skin has to boil off before browning can begin, and while it does the fat underneath is already overcooking.
- Season both sides with the salt, pepper and paprika, then leave the thighs skin-up on a plate for 10 minutes. The salt pulls a little moisture to the surface, which then evaporates, leaving the skin drier than when you started.
- Lay the thighs skin-down in a cold, dry cast iron pan, leaving a finger of space between them, and only then set the pan over medium-low heat. A cold start lets the thick layer of fat under the skin melt out gradually instead of seizing; a hot pan sets the skin in seconds and traps that fat beneath it, which is how you get skin that looks brown but chews like rubber.
- Cook undisturbed for 12 to 15 minutes. The skin will release a surprising amount of fat; spoon off all but a tablespoon or so halfway through, or the thighs end up frying rather than rendering. Do not move them, press them or lift them to check before the 10 minute mark.
- Turn the thighs only when they release from the pan on their own and the skin is deep, even gold. If a thigh sticks, the crust is not finished and tearing it now costs you the best part of the dish. Cook the flesh side for 3 to 4 minutes, then lift everything onto a plate, skin facing up.
- Pour off the rendered fat, leaving about a tablespoon and all the browned bits stuck to the pan. Take the pan off the heat for 30 seconds so it drops below searing temperature before anything else goes in.
- Add half the butter and all the sliced garlic to the pan over low heat and stir for 45 to 60 seconds, until the slices turn pale gold and smell sweet. Garlic goes in after the sear and never before: it burns at a far lower temperature than the one needed to crisp skin, and burnt garlic turns the whole sauce bitter in a way no amount of lemon will cover.
- Pour in the hot stock and the lemon juice, add the Dijon, the thyme and the chilli flakes if using, and scrape the base of the pan with a wooden spoon. Everything stuck down there is browned chicken protein, and it dissolves into the liquid as the sauce reduces by about a third over 2 to 3 minutes.
- Return the thighs to the pan skin-up, sitting them in the sauce rather than under it, and finish either in an oven at 200 °C (400 °F) for 8 to 10 minutes or covered on a low hob for 8 minutes. They are done at 75 °C (165 °F) at the bone; thighs are forgiving and a few degrees over does them no harm.
- Off the heat, swirl in the remaining cold butter a cube at a time until the sauce turns glossy, then stir through the lemon zest and parsley. Rest for 5 minutes, spoon the sauce around the thighs rather than over them, and finish with a little flaky salt.