Classic Golden Gluten Free Pound Cake
↓ Jump to Recipe
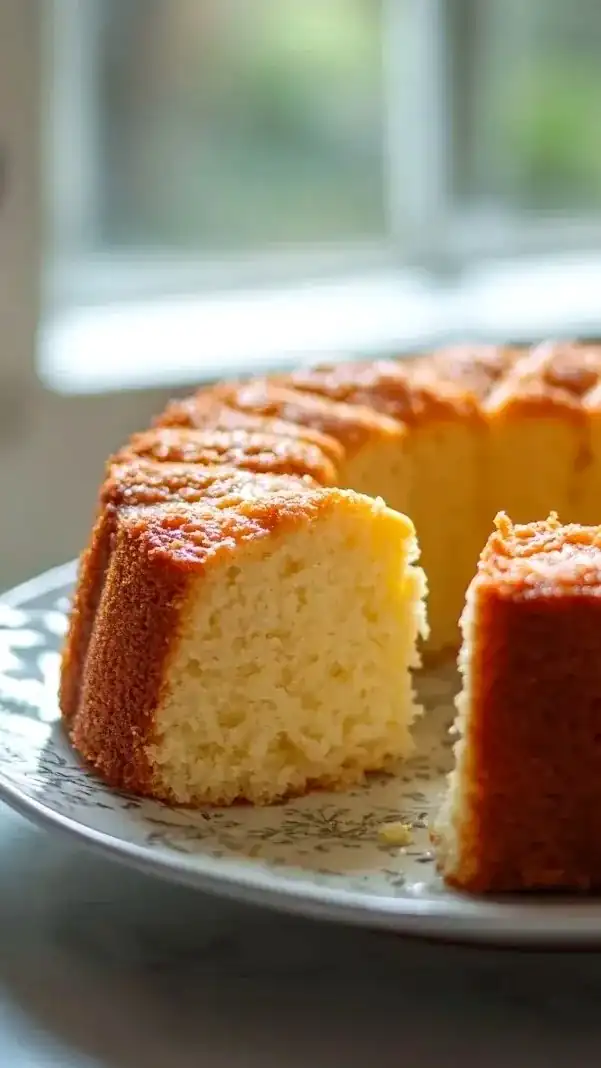
Master the art of a moist, buttery gluten free pound cake that rivals any traditional bakery loaf. Perfect for every occasion.
Baking a traditional loaf without wheat flour often feels like a gamble. Many home bakers have encountered the heartbreak of a crumbly, dry dessert that falls apart the moment the knife touches it. Achieving that dense, buttery, and luxurious mouthfeel that defines a classic pound cake requires a specific approach when moving away from gluten.
This particular recipe is designed to bridge the gap between dietary needs and the nostalgic experience of a vintage-style cake. By focusing on high-quality ingredients and the precise aeration of fats and sugars, you can produce a result that stands up to scrutiny from gluten-loving friends and family alike.
In this guide, we will explore the nuances of creating a sturdy yet tender crumb. We will walk through the logic of alternating ingredients and the importance of temperature, ensuring your kitchen becomes a sanctuary for reliable, satisfying gluten-free baking.
Table of Contents
The Science of a Perfect Crumb
The secret to a successful pound cake is the mechanical process of creaming. When butter and sugar are beaten together until they appear pale and fluffy, you are actually creating tiny air pockets. These air pockets expand in the heat of the oven, providing the lift necessary to overcome the density of alternative flours. Without this step, your cake will lack the airy structure required for a truly pleasant eating experience.
Gluten-free flour blends often rely on gums, like xanthan gum, to act as a scaffold. Because these flours lack the elastic strands of wheat, they cannot trap gases in the same way. The gum mimics this function, holding the cake together while the protein from the eggs sets the final architecture. Respecting the mixing time is vital here; overworking the batter once the flour is incorporated can lead to a chewy texture rather than a soft one.
Mastering the Essential Tools
Precision starts with your equipment. A standard nine-by-five-inch metal loaf pan is your best friend for this recipe, as it distributes heat evenly and allows the sides of the cake to set before the center rises too quickly. If your pan is dark-colored, remember that it will absorb more heat, so you might want to watch the edges closely during the final twenty minutes of baking.
A reliable electric mixer is highly recommended for the initial phases of the task. While you can do it by hand, the endurance required to cream the butter to the proper consistency is significant. Using a wire cooling rack is also non-negotiable, as it prevents steam from being trapped beneath the loaf, which would otherwise lead to a soggy bottom.
Ingredients You Will Need
- One and a half cups of a gluten-free all-purpose flour blend containing xanthan gum
- One teaspoon of baking powder
- Half a teaspoon of table salt
- One cup of softened unsalted butter
- One and three-quarter cups of granulated white sugar
- Four large eggs
- One teaspoon of pure vanilla extract
- Half a cup of whole milk
Classic Golden Gluten Free Pound Cake
Master the art of a moist, buttery gluten free pound cake that rivals any traditional bakery loaf. Perfect for every occasion.
Ingredients
Instructions
- Set your oven to three hundred and fifty degrees Fahrenheit and prepare a nine by five inch loaf pan by coating the inside with butter and a dusting of flour.
- Combine the gluten-free flour, baking powder, and salt in a medium-sized bowl using a whisk to ensure uniformity.
- Use a large mixing bowl to beat the soft butter and granulated sugar together until the mixture looks light, pale, and airy.
- Add the eggs to the butter mixture one at a time, making sure each is fully incorporated before moving to the next, then mix in the vanilla extract.
- Add the dry flour mixture to the wet base in small increments, alternating with the milk, finishing with the flour mixture and mixing only until the batter is smooth.
- Transfer the cake batter into your prepared loaf pan and smooth the top with a spatula to ensure an even bake.
- Bake the cake for fifty to sixty minutes, verifying it is finished when a wooden pick inserted into the middle comes out without any wet batter attached.
- Allow the loaf to remain in the pan for ten minutes, then carefully remove it to a wire rack to finish cooling down completely.